Once we had the vinyl off – which, we of course got off in no time (cough cough), it was time to remove the inner skins. It was also a week later. Who are we kidding? That vinyl is evil, clingy stuff and we had full time jobs on the side. So we got off as much as we could stand to and then just decided to go ahead and remove the walls. This may sound like a kind of shortcut but I think of it as flat out tossing in the towel. After all, there is like 400 square feet of wall in there.
The previous owner had begun to frame in the bathroom… which also had to go and should’ve been a warning about his other improvements. He had secured the studs to the walls by drilling wood screws right in. The problem is that the pitch of wood screws, well, screws up the metal besides the fact that steel screws (unless zinc plated) will eventually react with aluminum and cause corrosion.
The man had used three types of screws on this one project. I am all for salvaging and using what you have on hand but there are limits. We had to switch drill bits about every four seconds until the frame was out. And by the time it was out, we were nearly out of snacks. Only a deep sense of stick-to-it-iveness and James’ insistence that I help kept me from immediately running off to acquire more.
If the vinyl had been a bit stubborn, the skins were rebellious mules. Youtube is supposed to be more realistic than cooking shows but the ease with which those people happily plucked off the skins was hardly accurate. We drilled, we pried, we pulled, tugged, ripped, jerked, and groaned while they barely deigned to budge. Somehow, the makers of Airstream had found a way to attach those skins to the center of the earth, with long, weed-like roots.
Well, it was a little better than that but don’t go thinking it was like on youtube. I would include a painful video of my struggles as evidence – but I’d have to shorten it way down to make sure you had time to see your great great great grandkids graduate from college once you’d finished watching.
Something we hadn’t considered was the length of the aluminum sections. A few of them are only 3-4’ long. No problem there. But the rest stretched the entire length of the trailer: over 20’, which was like wrestling very heavy, very cranky Chinese parade dragons off the walls.
In the end, we prevailed and persuaded the surly skins to slough off without too much damage, though the skins got a little bent up. Again, a more precise description is below:
Step 2 of 75,946.
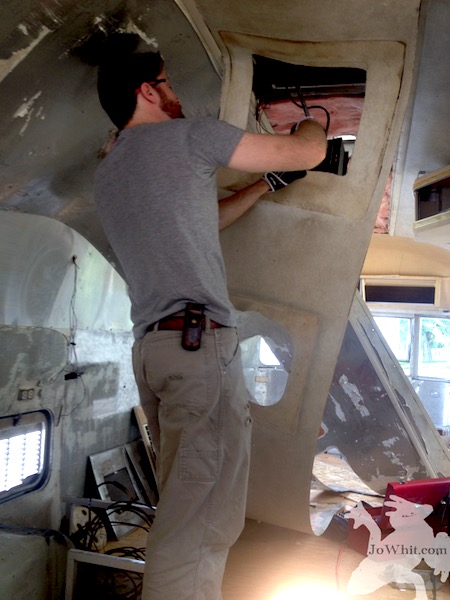
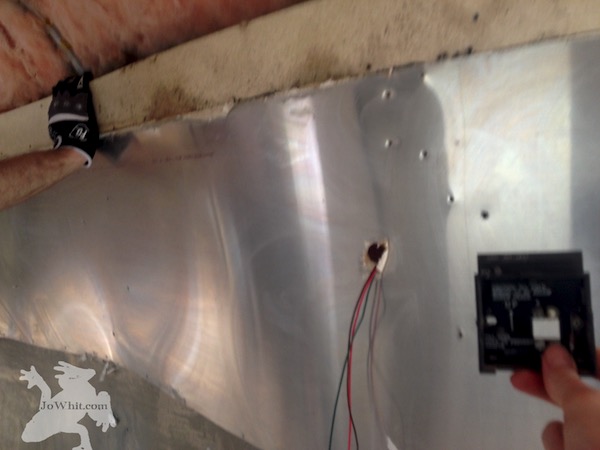
Remove the inner skins… but before you do, take pictures! Really, you’ll want to remember where those outlets go. As time passes, you’ll find that you have no idea what that thing you can’t identify does or where the AC thermostat went.
Ingredients: Drill, piles of 1/8” titanium or cobalt bits (seriously, we broke at least 5), sturdy gloves, the thinnest pry bar that mankind has invented (try the paint section), pliers, hammer, a punch smaller than 1/8″, ingenuity, and thicker skin than the airstream has.
- Drill through each rivet (approximately 34,000,000,000)
- Periodically remove rivet heads from the drill bit with pliers… before they take over your bit like kudzu on a tree.
- Sometimes you will wonder how they could’ve possibly gotten those rivets in that impossible spot in the first place. The answer is obviously magic… possibly black magic. Be smarter than the rivet but don’t underestimate the value of one more try.
- Realize that the chances that you will remember how the skins fit back in is actually very, very slim. Therefore, label each skin. For example, “rear road-side corner, bottom.”
- Remove skins without horribly mutilating them (I dare you).
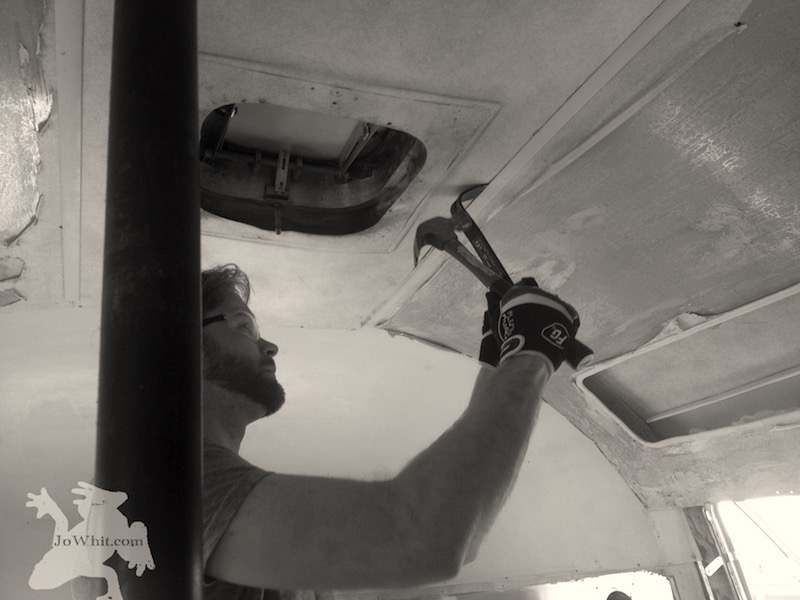
- Note, at least on a ’77, there is a piece of molding – or a channel – that runs along both sides of the center ceiling piece and holds it on. This (and the pieces fastened into the door frame) was by far the toughest section to get off. We did not put that piece of channel back when putting the skins back on – not only because it was somewhat mangled, but because we paneled over the seam with cedar anyway. My advice is to follow the picture at the top of this post and carefully slice the rivets in half with a pry bar and hammer.
- Bonus step! Drilling out a rivet doesn’t mean that the whole thing comes out. The fat little stem is often left. This is usually easy to get out, either by tapping out with a punch (and hammer) or if really stubborn, guillotining it in half (the pry bar is the guillotine, which you wack with a hammer).
-

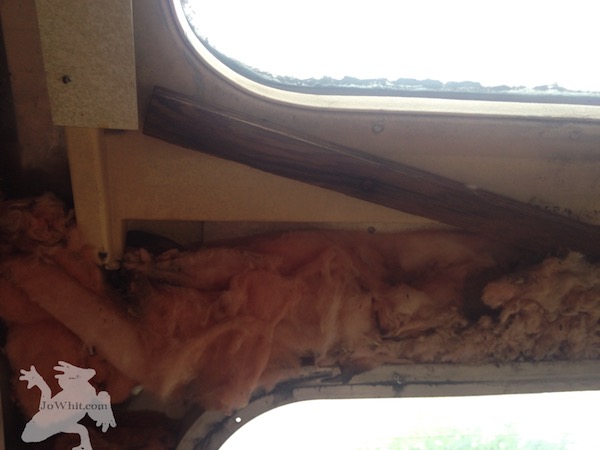
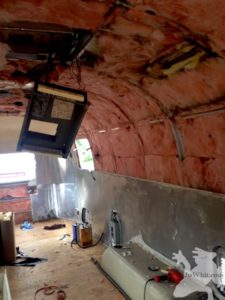
- Insulation near a vista view window
-

- Extra low quality reference photo
-

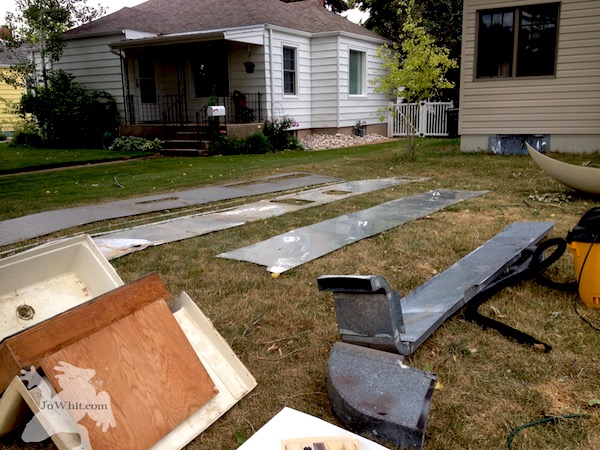
- Skins laid out
-
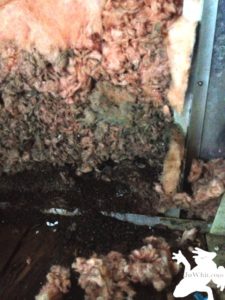
- Where the mice went in the insulation

-
- Fiberglass insulation underneath

-
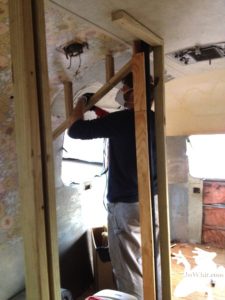
- Removing “new” bathroom frame

-

- Removing the center ceiling skin